Vue Router는?
Vue 애플리케이션에서 페이지 간 전환을 관리하는 데 사용되며,
이를 통해 싱글 페이지 애플리케이션(SPA)에서 페이지 전환을 처리할 수 있습니다.
App.vue에
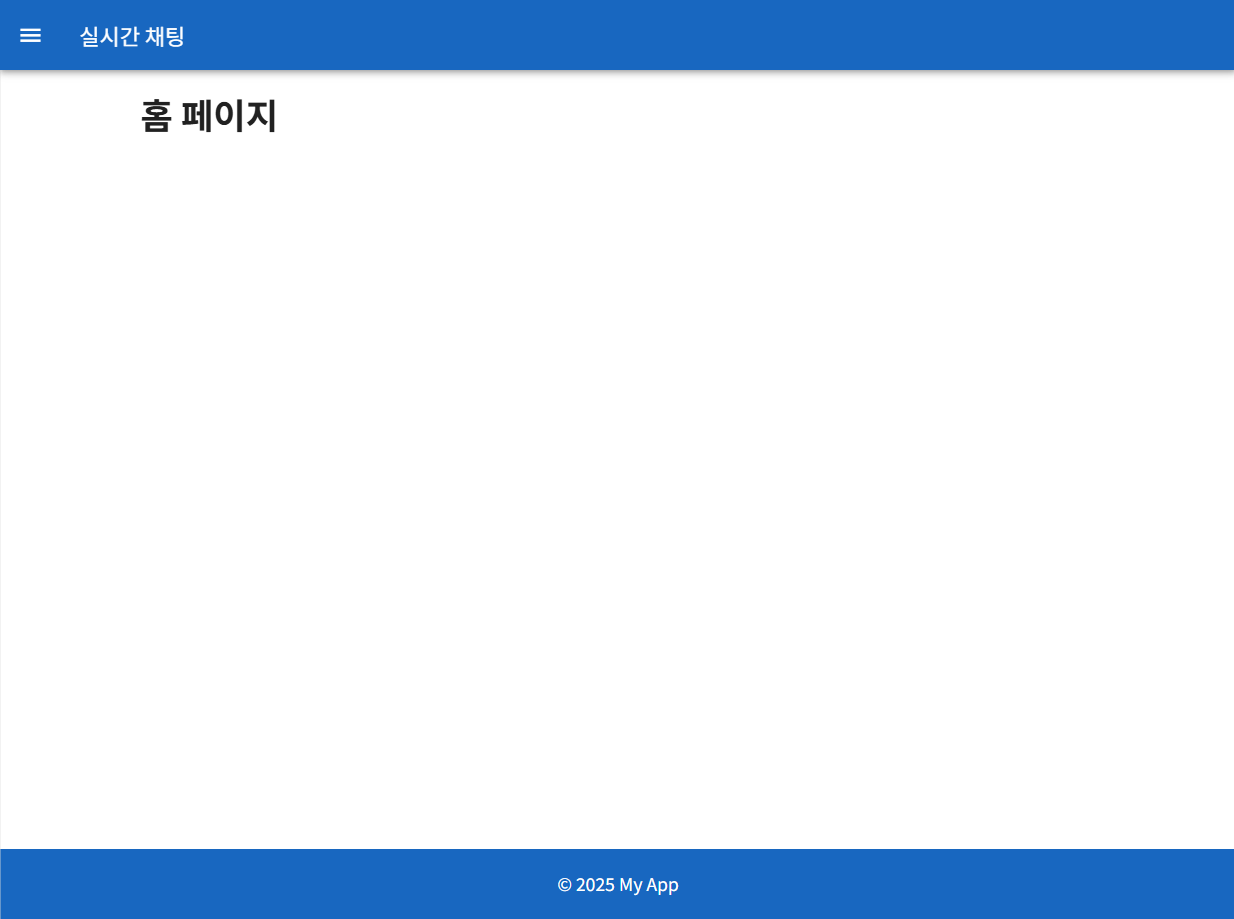
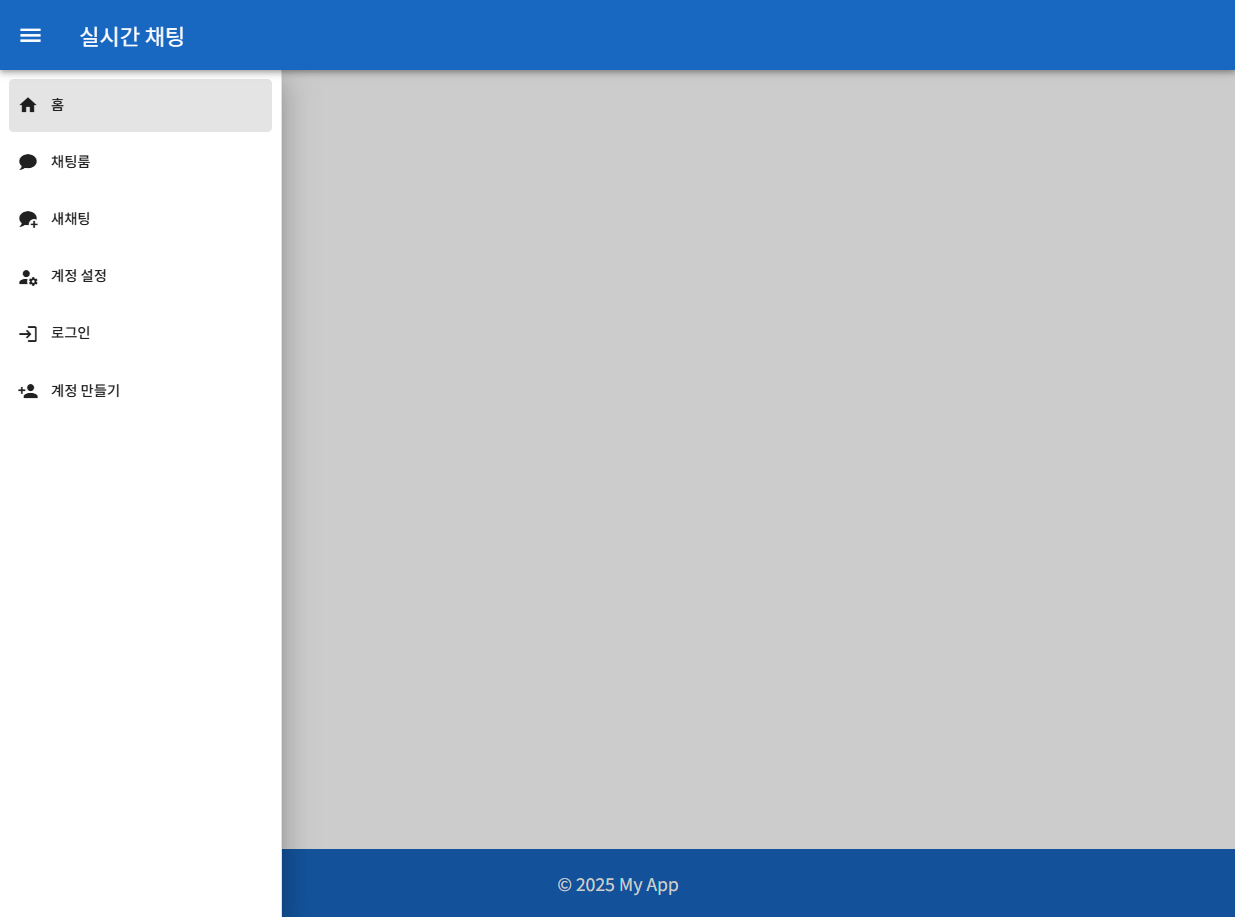
Vuetify를 사용하여 App Bar(헤더), Drawer(사이드 메뉴), Footer(푸터) 가 포함된 UI를 구성합니다.
더하여 Material Design Icon도 사용합니다.
라우터 및 레이아웃 설정
1. Vue Router 설치
npm install vue-router@
2. 라우터 설정 - router/index.js
// src/router/index.js
import { createRouter, createWebHistory } from 'vue-router';
import Home from '@/views/Home.vue';
import Login from '@/views/Login.vue';
import Register from '@/views/Register.vue';
import Profile from '@/views/Profile.vue';
import StartChat from '@/views/StartChat.vue';
import ChatRoom from '@/views/ChatRoom.vue';
import ChatList from '@/views/ChatList.vue';

const routes = [
  { path: '/', name: 'Home', component: Home },
  { path: '/login', name: 'Login', component: Login },
  { path: '/register', name: 'Register', component: Register },
  { path: '/profile', name: 'Profile', component: Profile },
  { path: '/startChat', name: 'StartChat', component: StartChat },
  { path: '/chat', name: 'ChatRoom', component: ChatRoom },
  { path: '/chatList', name: 'ChatList', component: ChatList },
];

const router = createRouter({
  history: createWebHistory(),
  routes,
});

export default router;
3. main.js에 라우터 사용 설정
// src/main.js
import { createApp } from 'vue';
import App from './App.vue';
import { createPinia } from 'pinia';  // Pinia import
import 'vuetify/styles';
import { createVuetify } from 'vuetify';
import * as components from 'vuetify/components';
import * as directives from 'vuetify/directives';
import { aliases, mdi } from 'vuetify/iconsets/mdi' // 추가
import '@mdi/font/css/materialdesignicons.css'
import router from './router';

const vuetify = createVuetify({
  components,
  directives,
  icons: {
    defaultSet: 'mdi', // 기본 아이콘 셋을 mdi로 설정
    aliases,
    sets: {
      mdi,
    },
  },
});

const app = createApp(App);

app.use(createPinia());  // Pinia 플러그인 사용
app.use(vuetify);
app.use(router);

app.mount('#app');
4. 레이아웃 - App.vue
<!-- src/App.vue -->
<template>
<v-app>
<!-- App Bar -->
<v-app-bar app color="primary" dark>
<v-app-bar-nav-icon @click="drawer = !drawer" />
<v-toolbar-title>실시간 채팅</v-toolbar-title>
<v-spacer />
</v-app-bar>
<!-- Navigation Drawer -->
<v-navigation-drawer app v-model="drawer">
<v-list nav dense>
<v-list-item
v-for="item in menuItems"
:key="item.title"
:to="item.to"
link
@click="drawer = !drawer"
>
<v-list-item-title>
<v-icon start>{{ item.icon }}</v-icon>
{{ item.title }}
</v-list-item-title>
</v-list-item>
</v-list>
</v-navigation-drawer>
<!-- Main Content -->
<v-main>
<v-container>
<router-view />
</v-container>
</v-main>
<!-- Footer -->
<v-footer app color="primary" dark>
<v-col class="text-center">© 2025 My App</v-col>
</v-footer>
</v-app>
</template>
<script setup>
import { ref, computed } from 'vue'
const drawer = ref(false);
// 메뉴 항목 배열
// 로그인 상태에 따라 메뉴 항목 다르게 구성
const menuItems = computed(() => {
return [
{ title: '홈', icon: 'mdi-home', to: '/' },
{ title: '채팅룸', icon: 'mdi-chat', to: '/chatList' },
{ title: '새채팅', icon: 'mdi-chat-plus', to: '/startChat' },
{ title: '계정 설정', icon: 'mdi-account-cog', to: '/profile' },
{ title: '로그인', icon: 'mdi-login', to: '/login' },
{ title: '계정 만들기', icon: 'mdi-account-plus', to: '/register' },
];
});
</script>
<style scoped>
.main-content {
display: flex;
flex-direction: column;
min-height: calc(100vh - 64px - 64px); /* AppBar와 Footer의 높이 */
}
</style>🎉 이제 실행해봅시다.
npm run dev
'Vue 3 + Firebase 기반 실시간 채팅 앱 개발' 카테고리의 다른 글
| 7. Vue 3 + Firebase 기반 실시간 채팅 앱 v-chat 개발 - 로그인, 로그아웃, 자동 로그인 (0) | 2025.05.07 |
|---|---|
| 6. Vue 3 + Firebase 기반 실시간 채팅 앱 v-chat 개발 - 계정 만들기 및 계정 정보 설정 (0) | 2025.05.06 |
| 4. Vue 3 + Firebase 기반 실시간 채팅 앱 v-chat 개발 - 프로젝트 만들기 (1) | 2025.05.06 |
| 3. Vue 3 + Firebase 기반 실시간 채팅 앱 v-chat 개발 - 설계서, WBS (0) | 2025.05.05 |
| 2. Vue 3 + Firebase 기반 실시간 채팅 앱 v-chat 개발 - 요구 사항 분석 (0) | 2025.05.05 |